|
Team 1 Summertime Double Picture Frame
You will need this file containing the images used, am-rectangle .msk, and the abeigebk PSD file. You will also need the Texturizer Filter and Ulead Art Texture. Unzip and open your images into PSP, place the Mask in your PSP Masks folder and the PSD file where you keep your Texturizer files.
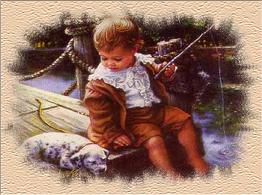
Shift, D and duplicate your images. Resize "Gone Fishin'" to 350 x 260 (Maintain Aspect Ratio UNChecked). Close originals. Minimize one of the images for now. With the other image, click on Masks, Load from Disk and find am-rectangle. Mask Delete.
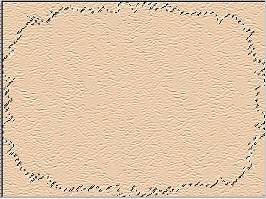
Add a layer and floodfill with #EACBAC then apply the abeigebk texture with the Texturizer setting the Relief to 12. Activate Layer 1 (Image Layer), Selections, Select All, Selections Float. Activate Layer 2 and hit Delete.
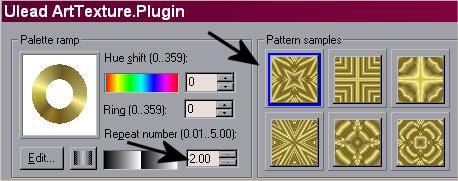
Selections, Select None. Add a Drop Shadow, V & H set at 0, Blur 50, Opacity 30, Color #202020. Set your Background Styles Palette to White, Images, Add Border, 10. Select your border with the Magic Wand tool and apply Ulead Art Texture. I used Gold 5 with the Repeats and Sample shown:
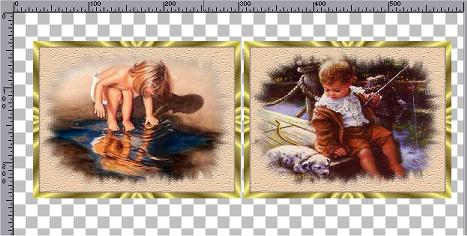
Keep selected and add a Drop Shadow, V & H at 2, Opacity 40, Blur 3.0 Color #202020. Repeat Drop Shadow changing V & H to - 2. Repeat with second image. Resize both images by 75%, Maintain Aspect Ratio Checked. Effects, Sharpen, Sharpen. Open a New Image, 600 x 300. Copy and Paste each of your Framed Images as a New Layer. Line them up side by side as shown:
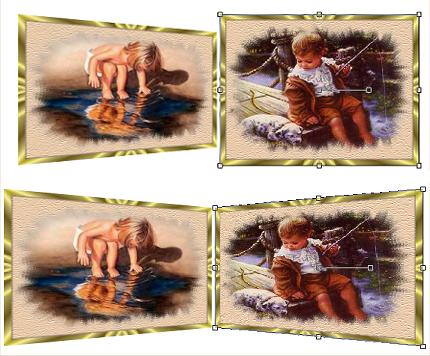
Select your Deformation Tool and on each image, on the bottom inside corner and holding down the CTRL Key pull up as shown:
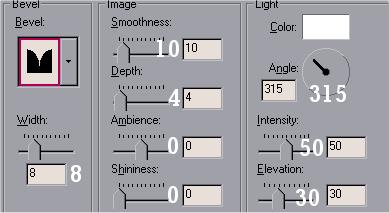
Activate Layer 1 and take your Selection Tool, Rounded Rectangle and draw out a selection as shown. Floodfill with White and apply Ulead Art Texture, same settings as before. Then apply an Inner Bevel as shown.
If needed, move each Framed image away from the 'hinge' just a little. Layers, Merge Visible. Selections, Select All, Float. Edit, Copy and Paste as a New Image. Now you can either decorate your image by placing it on a table, etc or save in .gif format. Remember if sending into PSP Lists to follow your List's rules for sizes. This would be a nice way to show off pictures of your children and grandchildren.
We hope you enjoy this tutorial. It was very much a team effort with ideas from the Team Members mixed throughout the tutorial.
Be sure and check out all the Team Spirit Tutorials.
This tutorial is owned by Team Spirit Tutorials and the Team members who wrote it. Please do not copy or place this tutorial on any other site, email or e-list without written permission from Team Spirit Tutorials
©Team Spirit Tutorials © Made with TLC June 8, 2002 |