A new way of writing a tutorial as a team
Author's - Sandi, Deb, T-Storm and Lloyd

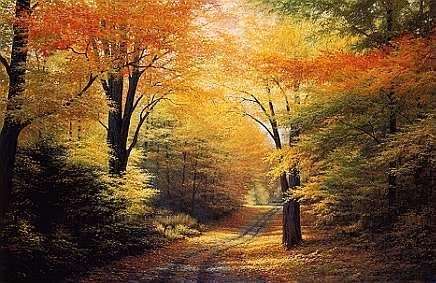
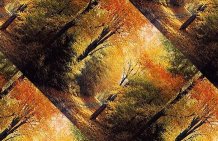
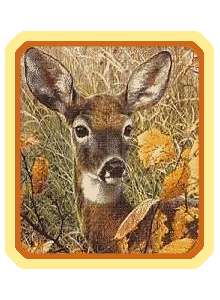
In this tutorial we are going to create a background and a framed image. The framed image you can see above and the background is the background for this page.
This requires the Simple Filters Plug-in
You can download here
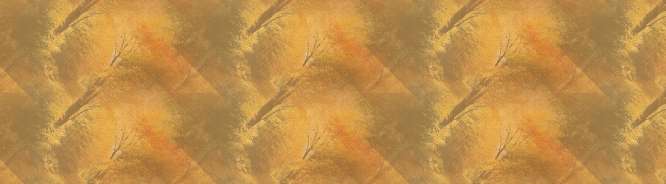
Background Image
Framed Image
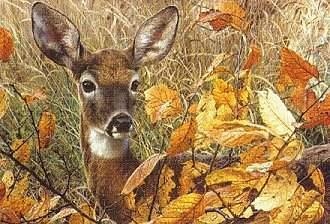
First thing we need to do is to take two colours out of the background image that match colours in what will become the framed image. These are the two colours we will be working with.

#FFED95 for the light colour and #CC681C for the dark.
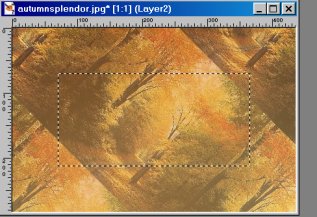
Now with the second one we are going to cut a selection out of the image that we can frame, to do this click on the selection tool

and using these settings:
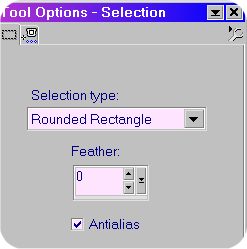
Select a section of the graphic that you want to frame
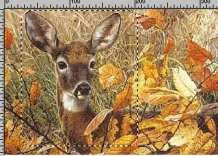
I selected the following by holding the left mouse button as You select
Left 26 Right 205 Top 2 Bottom 210 Watch the left bottom of the screen in PSP and You can see the selections dimensions

this is what You will see
Click OK
Now hit Edit/Copy and then Edit/Paste As New Image
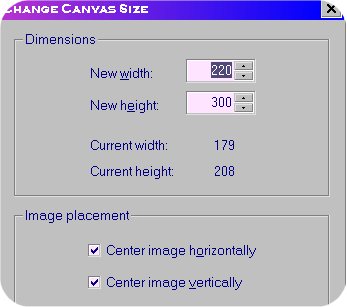
Now we need to make the canvas bigger than the image so click Image/Canvas Size These are the settings we used:
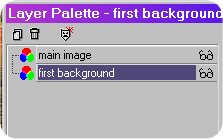
Now to make the frame, using the magic wand click in the transparent area, now click Selections/Invert, followed by Selections/Modify/Expand and make that 5 pixels. Now go to your layer palette and add a new layer and drag it below the first one. Like this
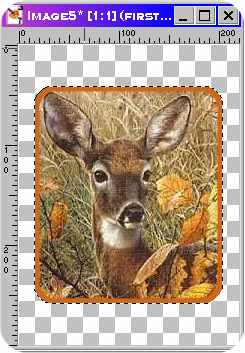
And using the darker of the two colours flood fill the selection in that new layer to get this:
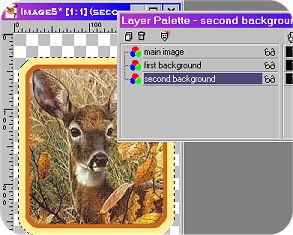
Right we are going to repeat those steps again but this time make the expand 10 pixels and the colour the lighter of the two you picked out.Make sure You add the layer
you should now have something that looks something like this:
Go to Effects/3D Effects/Buttonize
Buttonize the second and third background layers of the graphic using the following PSP7 Buttonize settings:
Height=20 Width=20 Opacity=75 Transparent Edge
Change to the main image layer, select Buttonize, set the settings as follows:
Height=10
Width=10
Opacity=75
Transparent Edge
This will mute the colors a little and create a more Autumnal color palette.

This finishes the main framed graphic. You can minimize it now and we will use later on the background
Open the autumnsplendor graphic You saved
Go to effects/Plugins/Simple/ and choose Diamonds for this effect
Image reduced for the tutorial
On the Styles pallet
set the foreground color as the yellow that we used on the frame and the brownish orange as the background color,
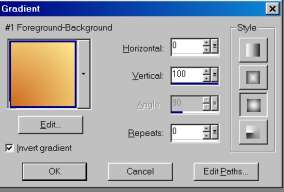
Select the Gradient button on the Styles Pallet

then set it to #1Foreground-Background gradient so that it would chose the gradient it came up with using those 2 colors
then I added 2 new layers and flood filled the first one with a gradient and a vertical of 100 and horizontal of 0,
the second layer I flood filled it with the gradient but changed vertical of 100 and horizontal of 100.
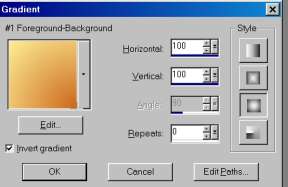
I then lowered the opacity of both gradient layers to 40.

Then Layers/Merge all Flatten
Then went to Selections/Select all
then back to selections/modify/contract using 70.
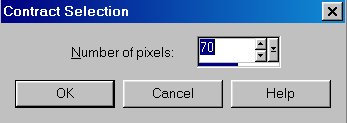
Back to selections one last time and convert to seamless pattern.

Open a new graphic 1024 x 286. transparent background
On the styles menu select the pattern option and scroll to your seamless graphic above
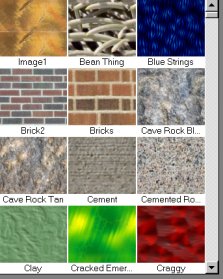

Click OK
Select the Floodfill and flood fill your transparent background graphic
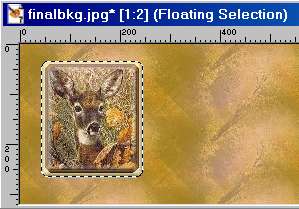
Now maximize or restore the framed graphic we finished before
it will have a white background like the above after You merge the layers
Set the background color to White on the style pallet
Hit Layers/Merge all Flatten/ Selections/Select None
Hit Edit/Copy and Edit Paste as transparent Selection onto your full background
go to Effects/3D Effects/Drop Shadow using the following settings
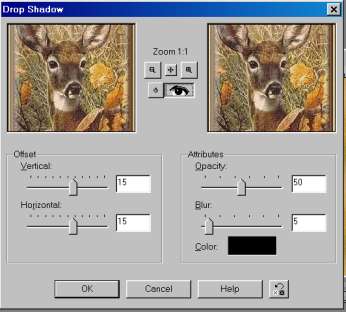
We only used one drop shadow for this effect
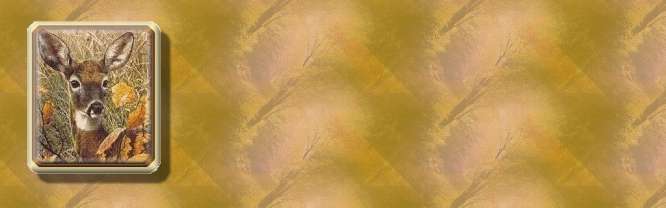
save your final graphic if You are happy with it
You can add an additional Drop Shadow if You would like with minus - settings
We hope You have enjoyed out attempt at a team tutorial and You found some tricks or tips that will be useful to You
Thank You from all of us