|
Snowy Winter Wonderland Wallpaper

by
Lloyd, Pat,
Connie

Click image for full size view. In this tutorial we will
make our own wall paper, and make it snow on our desktop.
Tools needed : Fm Tile Tools/ Blend Emboss:
A
Demo version can be downloaded from here. Blend Emboss works in the demo
http://www.fantasticmachines.com/demo_downloads.htm
Texturizer plugin
Mask:
Rectangle
WinSnow
This picture
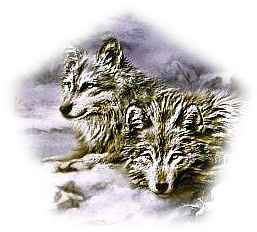
Open the graphic You want to use, or right click on this one and save to your
computer and then open in PSP.

Hit Shift D to make two copies of the graphic/ then close your original
Click on Image 1 to select it
go to Effects/plugins/FmTools/Blend Emboss and set as below
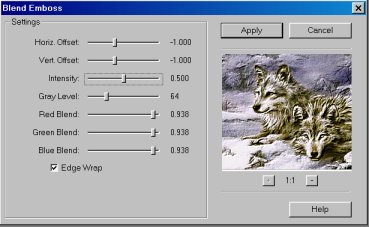
click ok
now your image should have an embossed look covering it
Select Image 2 and then Edit/Copy
Click back on image 1 and click on Edit/Paste/As New layer
this will now cover your embossed image with a copy of the original
Select the eraser tool using the settings below
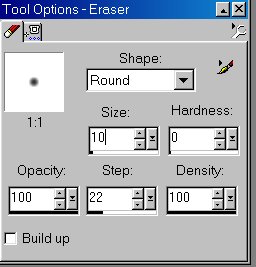
carefully erase the part of your graphic that You want to see the embossing show
through.
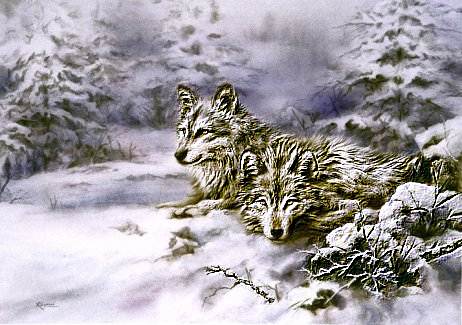
Since it's on a layer, You can erase any part that You want the embossing to
show . I chose all of the Wolves. to give me this effect
Pick a color from your graphic (I picked 8B7E51)
Add a new raster layer
Floor fill with the color you picked
Settings: Blend mode-normal, Match mode: RGB value, Tolerance 100, Opacity 100
Go to masks
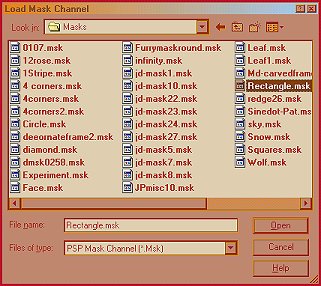
Load from disk
Rectangle mask
Invert
Delete - yes
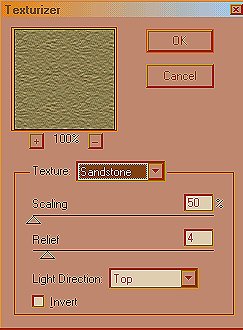
Now open Effects, Plug-ins,
Texturizer
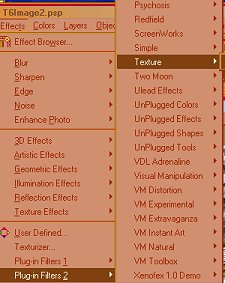
Sandstone at 50%
Relief 4
Light direction-top
Go to Image, Add Borders, Symmetrical,
250
Flood fill with the wolf pattern.
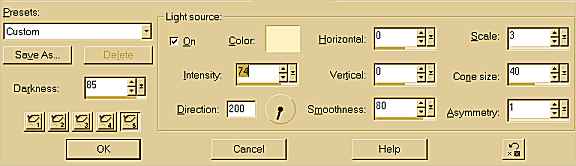
Now click on Effects, Illumination
Effects, Lights, and use the settings below:
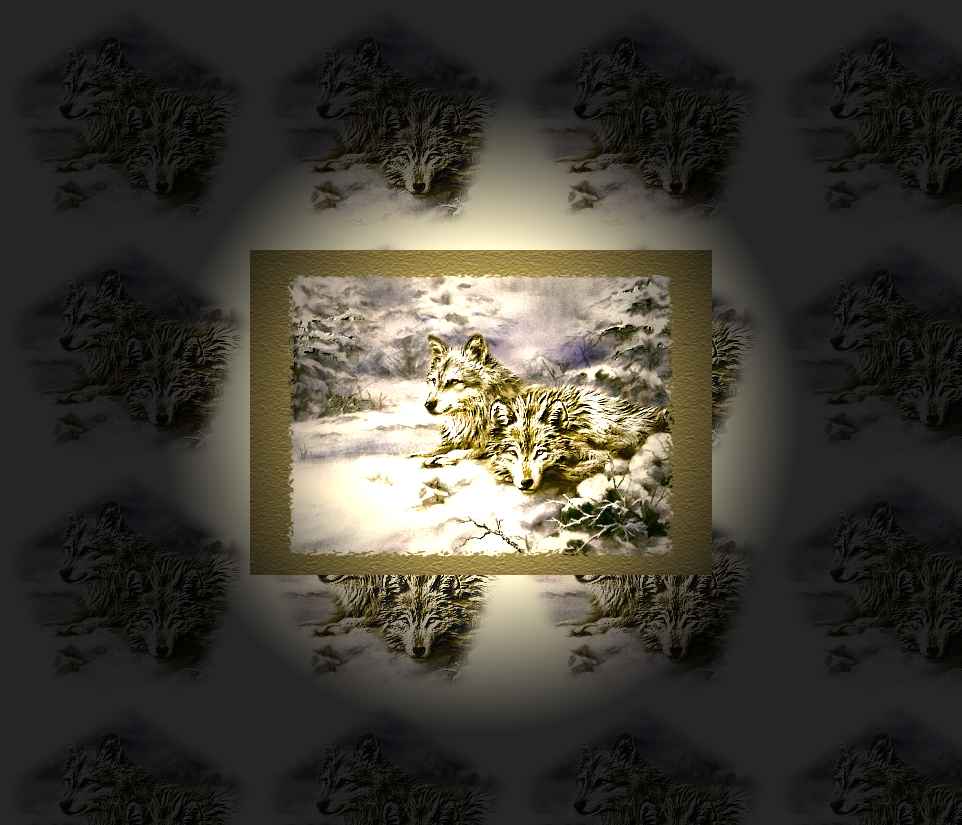
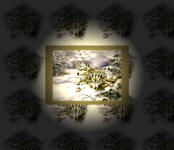
Now you should end up with an image
similar to the one below.
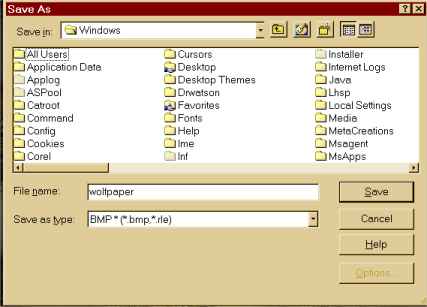
In order to use this as desktop
wallpaper, it needs to be saved in .bmp format. Save As to your C:/Windows
Directory:
To install your new wallpaper, minimize
PSP, right click on a blank space on your desktop, and click on Properties.
It will open to the Background Tab. Just scroll down to locate your new
wallpaper. Highlight your choice and then Click OK.
Now we can unzip the WinSnow.
Follow the directions in the Read Me file for instructions on starting your own snowscape
desktop.
We hope you enjoyed this tutorial, and
we encourage you to make your desktop uniquely yours!
Connie, Lloyd, Pat
This tutorial is Copyrighted to Team
Spirit Tutorials and each member
of the Team at that time. The tutorial may not be on any site, email or elist
without Team Spirit Tutorials Permission.
Back to Team Spitit Tutorials
|