Winter Scene

Part I


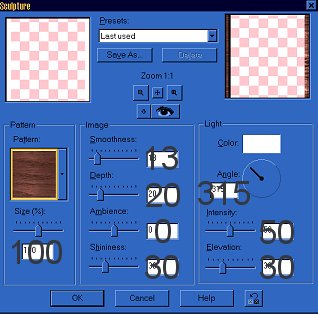
This tutorial was made using PSP 7.0. This tutorial was designed as part of a group effort by Old Man River and Laurel as part of the Tutorials Made Easy Group.

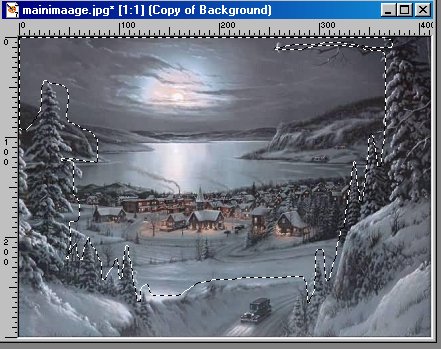
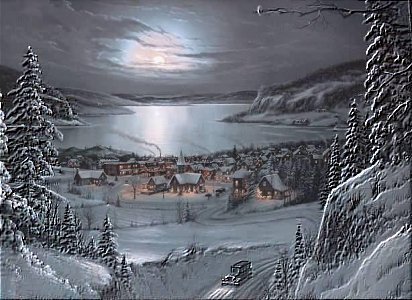
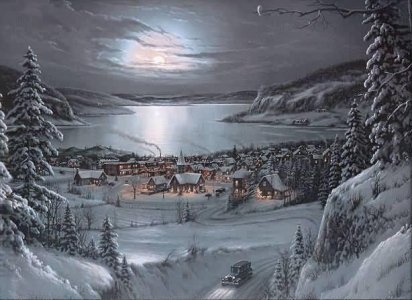
You can download the image used in the tutorial Here.

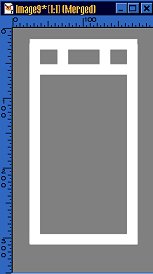
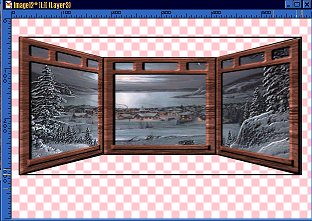
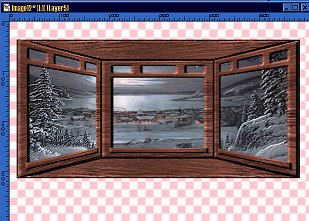
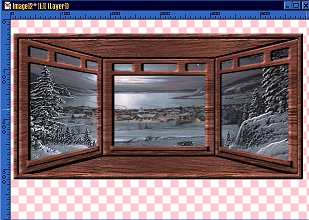
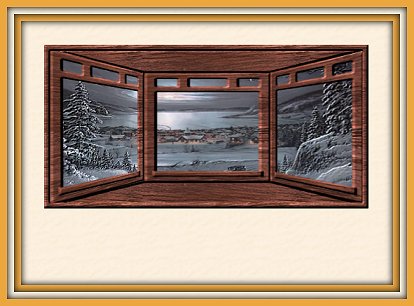
Part I Courtesy of Old Man River:

1. Open the image you want to work with, or right click and save this image to your computer.

2. Click on the layer pallet and select duplicate giving you a duplicate layer called Copy of Background

3. On the layer pallet click on the background layer to make it active

4. Go to Effects/Plugins/FM Tile Tools/Blend Emboss and set as below/click Apply

Download Demo here: http://www.fantasticmachines.com/demo_downloads.htm

5. Now on the layer pallet click on the Copy of Background to make it active)

6. Select the Lasso tool with the settings below

7. using the Lasso tool, and holding down the left mouse button trace around the area You want to appear embossed as I have done below

8. Once You have selected what You want/ then go to selections invert

9. Then while still selected hit the Delete Key giving You the Embossed look on the part You desired

10. Deselect. And thats the end of part I.

Part I Courtesy of Laurel:

1. Double click on your selection tool. Divide your image into 3 equal parts. For my first part I used the following coordinates: Left - 0, Right - 137, Top - 0, Bottom - 300. for the second part I used the following coordinates: Left - 138, Right - 275, Top - 0, Bottom - 300. for the third part I used the following coordinates: Left - 276, Right - 412, Top - 0, Bottom - 300. You should now have 3 images.

2. Open a new image, transparent background (I filled mine with a dark gray so my white lines would show up better) a little bit bigger than one of your three images. Then using your draw tool, set to single line and a line width of 15, on a new layer, draw in the top of the window frame. Then Copy (Control C) and past as a new image (Control L) twice. Then, on a new layer, draw another line to be one of the sides of the window, again Copy (Control C) and Paste as a new layer (Control L). Then on a new layer draw a short vertical piece, and Copy (Control C) and Paste as a New Layer (Control L). Then move each piece of the window frame to line up. When it looks like you want it to, Merge Visible your lines. If you have a background color like I do, close that layer before you merge your lines.

3. Next go to Selections/Select All and then Selections/Float and then Selections/Modify/Expand by 1. This should highlight your window Frame. Then go to Effects/Texture Effects/Sculpture. Use the following settings:

4. Using your drawing tool, with the same settings as before, on a new layer, draw in a window sill. Repeat step 3. With the window sill still selected add a drop shadow with the following settigs: V - 2, H - 0, Opacity - 90, Blur - 5. Then Merge/Visible your window frame.

5. Now, Duplicate this twice so that you have 3 window frames. Then go to your first window image and Copy (control C) and paste it as a new layer (Control L) on one of the window frames. Drag this beneath the window frame. Repeat this with all of the windows. You may need to stretch your window frame to fit the image. To keep my window frames a consistent size I Stretched the first one then Copied (Control C) and Pasted as a new Layer (Control L) on each of the other window frame images.

6. To use the bay window frame that I hand drew you can Download it here: Here. Or you can draw one of your own. Merge/Visible each window section (do not include background color. Then one window section at a time Copy (Control C) and Paste as a new image into your Bay Window Frame. Then using your deformation tool make you left window section fit into the left part of the baby window frame. Repeat with each window section.

7. Using the Magic Wand tool select the area of the bay window frame that is above the windows, on a new layer floodfill this with white. You may need to deselect and paint into the corners with your paint brush tool to fill the entire area in. Then go to Effects/Texture/Sculpture and use the same settings as before. Then copy (Control C), paste as a new layer (Control L) and Flip (Control I). Place this on the area below the windows. These two layers should be below the windows. If they are not drag them below.

8. When you are satisfied, Merge/Visible these layers. On a new layer using your preset shapes tool, set to rectangle and a size of 10, foreground set to white and you background set to 0, draw a rectangle around your image, overlapping the edges a little bit. You should now have a frame around your bay window. Repeat the sculpture effect.

9. At this point you may wish to resize your window. I made mine smaller, floodfilled the area around my window and added a frame.

And this concludes part II.

Copyright © 2001 - 2002 Old Man River, Laurel's Place and Tutorials Made Easy, All Rights Reserved.

Back to Team Spitit Tutorials